Step-by-step Instructions on Setting Up ModalCast
Learn how to easily set up ModalCast with our step-by-step guide.
Setup Guide: Step-by-step Instructions on Setting Up ModalCast
Setting up ModalCast is a straightforward process that can be completed in just a few steps. Follow this guide to start sending updates to your visitors using the ModalCast popup widget.
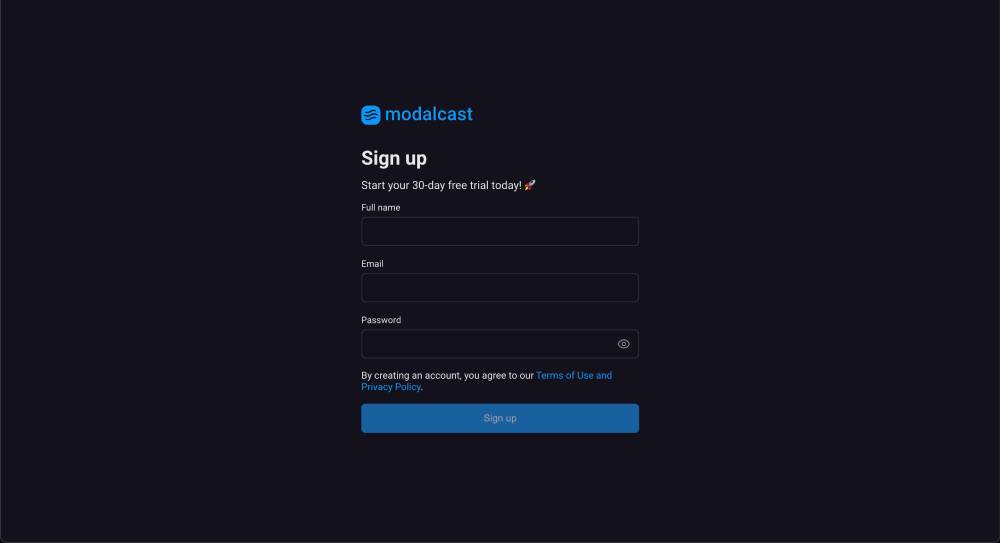
Step 1: Sign Up
To get started, you need to create a ModalCast account. Follow these steps:
- Visit the sign-up page.
- Fill in your full name, email, and password to create a new account.
- Enjoy a 7-day free trial upon signing up.
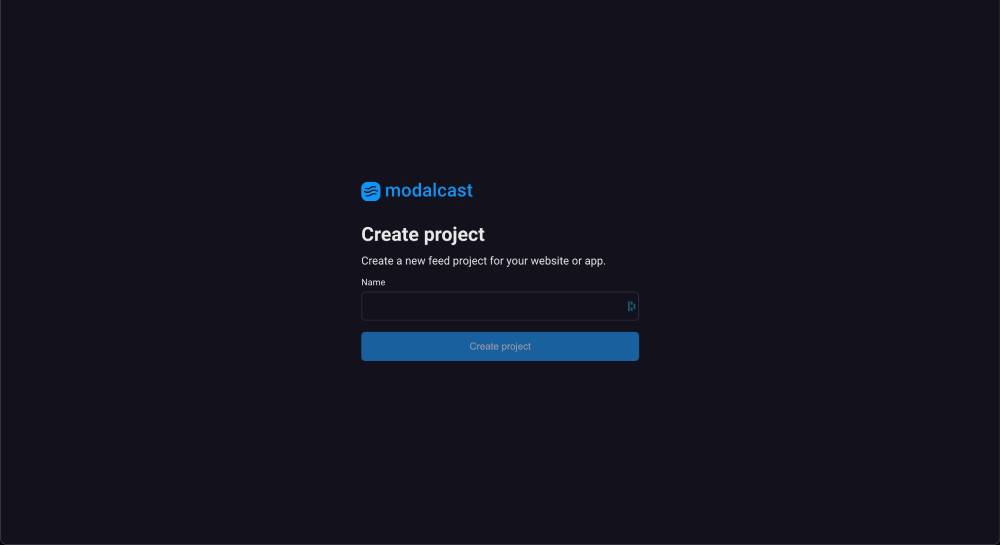
Step 2: Name Your Feed
After signing up, you'll be prompted to name your new feed. Don't worry; you can easily change this later in the user settings page.
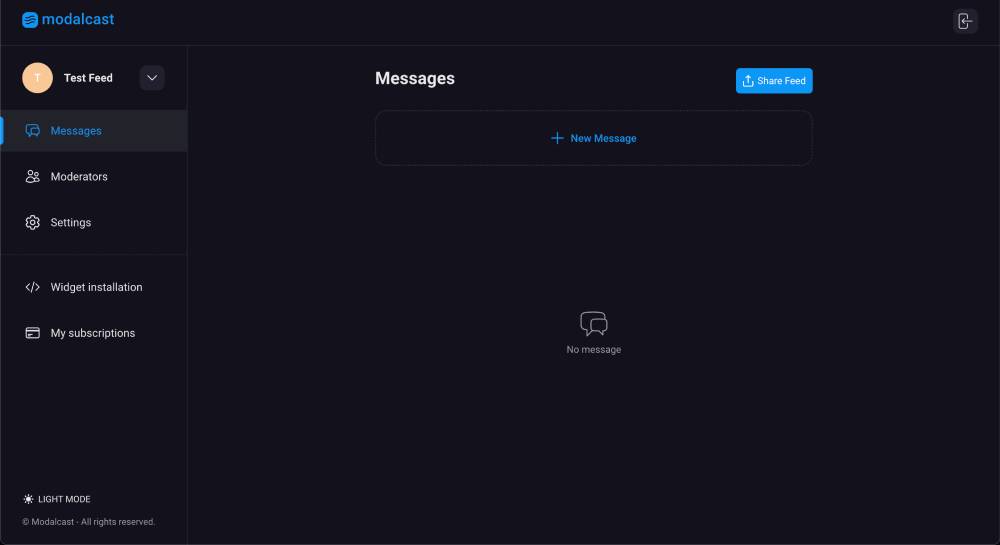
Step 3: User Dashboard
Once you've saved your feed name, you'll be directed to the user dashboard. This is your control center where you can manage your messages and settings.
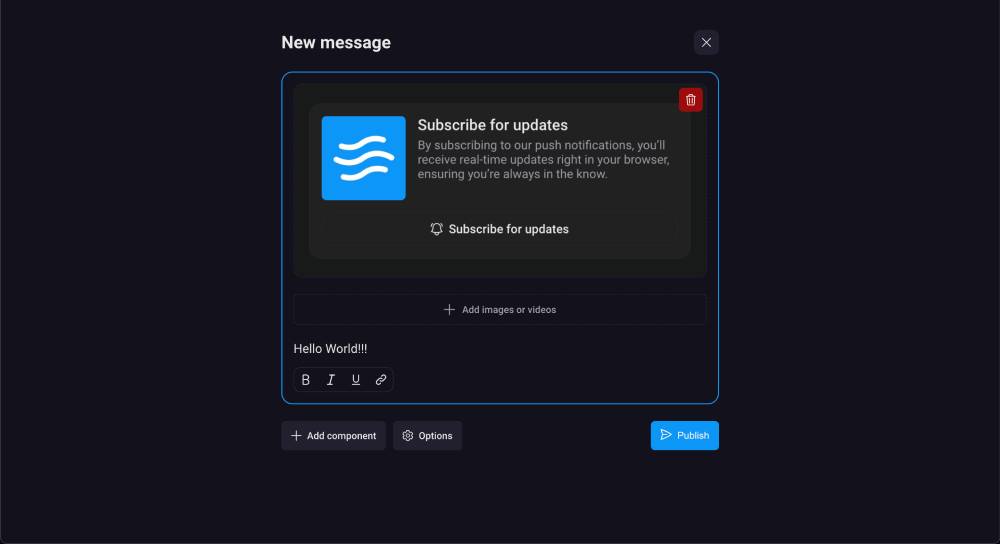
Step 4: Create a Message
To create a new message for your feed, follow these steps:
- Click the "New Message" link on the user dashboard.
- Add your message content. Optionally, you can add images or videos to your message.
- Click "Publish" to make your message live.
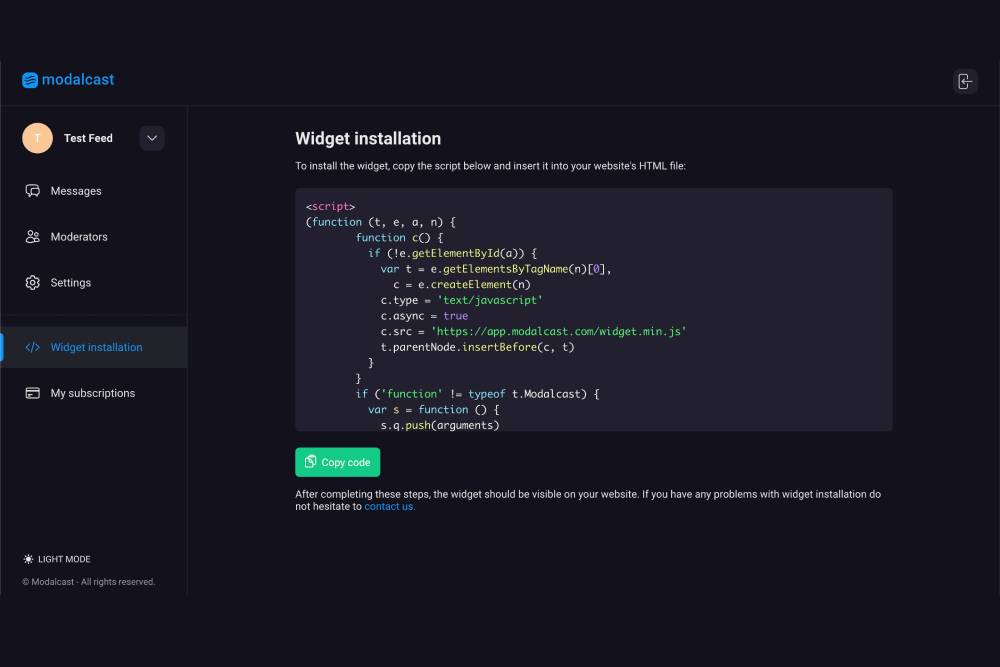
Step 5: Widget Installation
After creating your message, it's time to install the widget on your website. Follow these steps:
- Click "Widget Installation" in the left panel of the user dashboard.
- Copy the script by clicking the "Copy Code" button.
- Insert the copied code into your website's HTML file.

Step 6: Activate Your Widget
After completing the above steps, your popup widget feed should now be live on your site, ready to send updates to your visitors. If you have any issues during the setup process, don't hesitate to contact us for support.
And that’s it! You’ve successfully set up ModalCast. Start engaging with your visitors through real-time updates and enjoy the benefits of enhanced user interaction on your website.
